In the era of BIM design, the ability to automate routine tasks is no longer a competitive advantage - it is a mandatory skill.
Below is a comprehensive guide to Dynamo BIM that will take you from basic concepts to practical applications, enabling you to:
- Understand how Dynamo works
- Write your own scripts
- Work with lists of any complexity
- Automate tasks in Revit and other software
- Understand when it’s better to use C# and a full-scale application
Introduction to the World of Dynamo
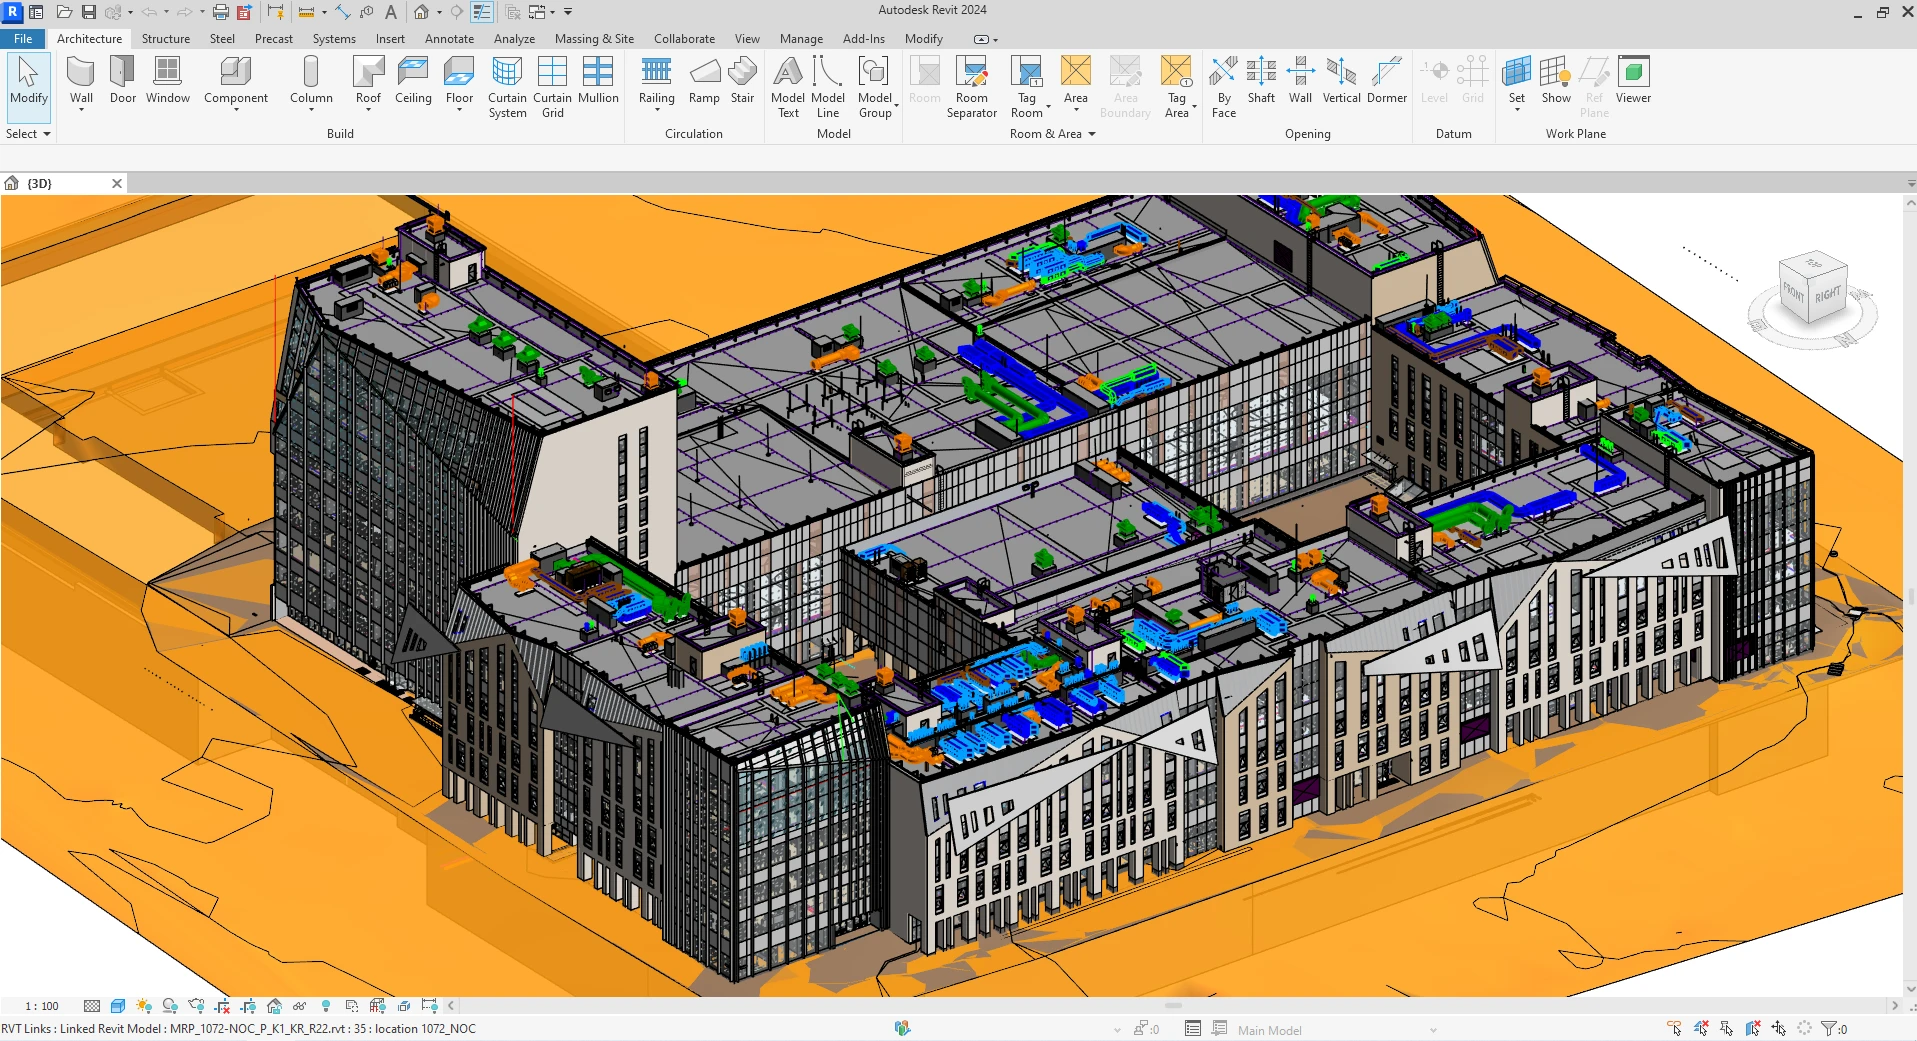
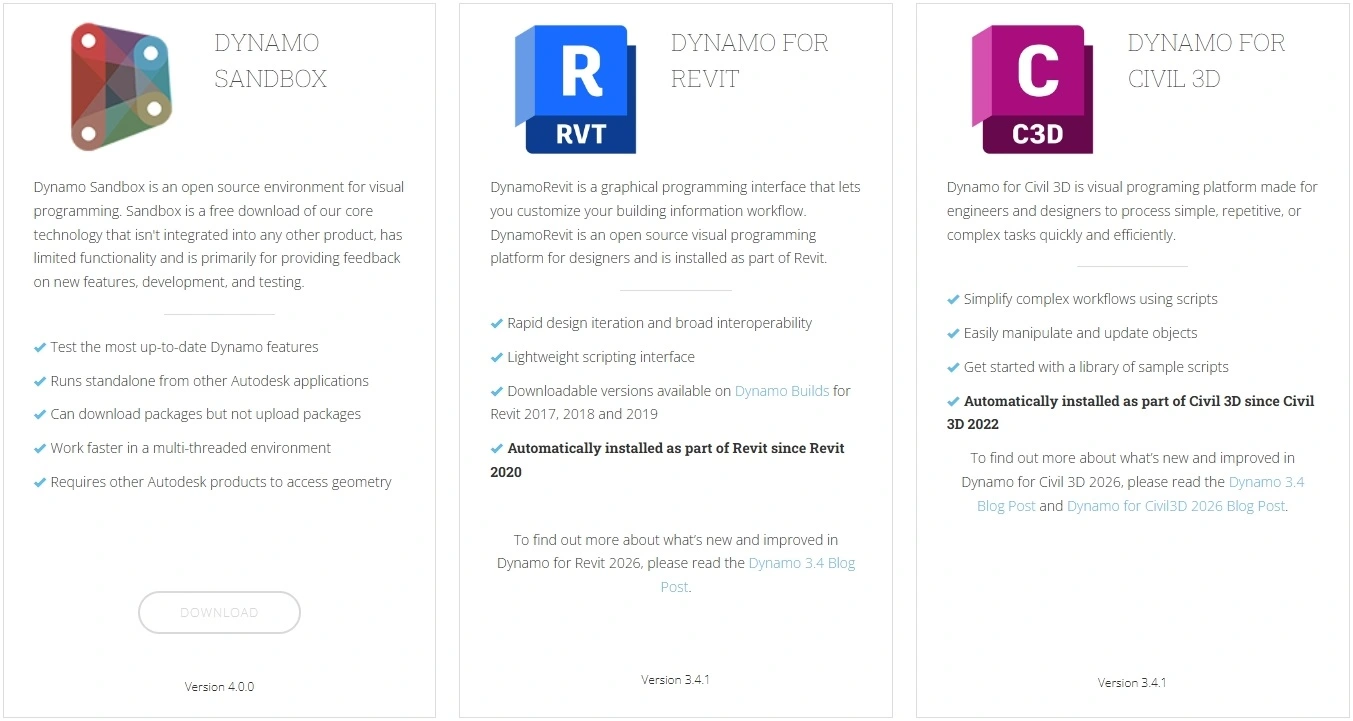
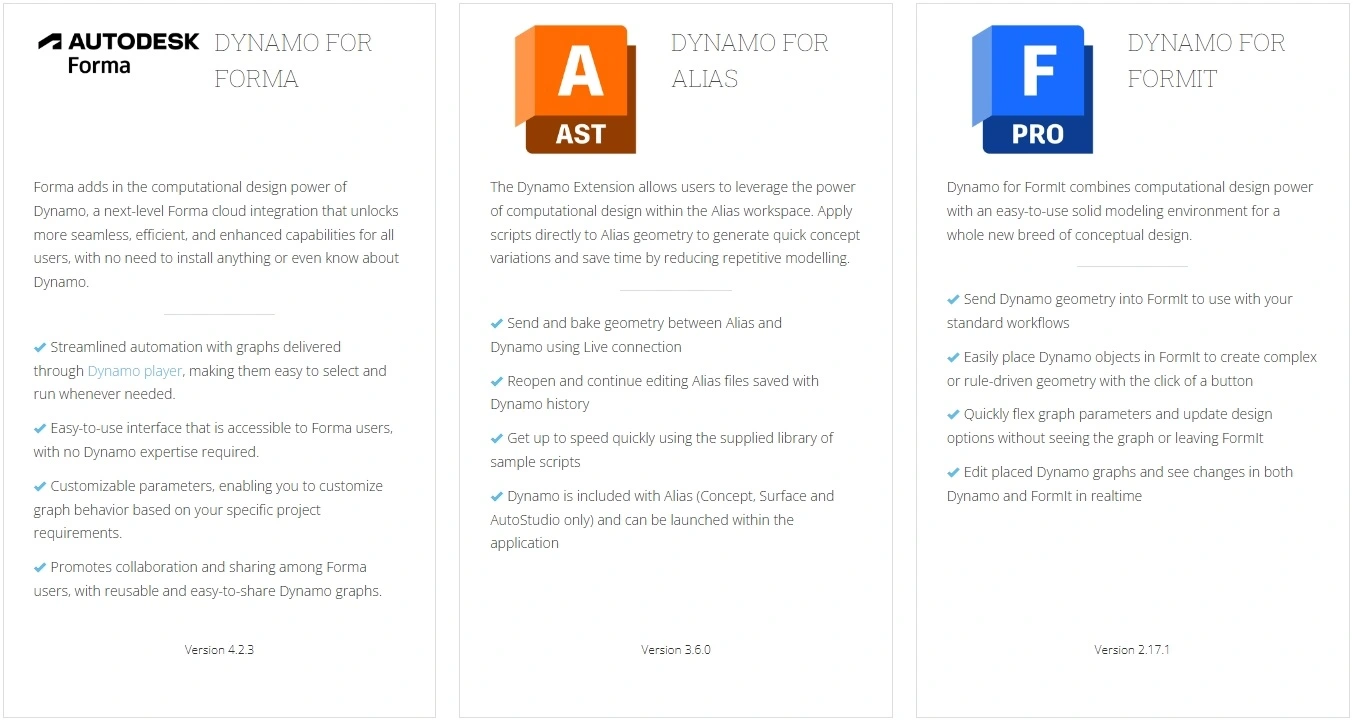
Dynamo is an open-source visual programming environment most commonly used as an extension for Autodesk Revit, but it is also available for Civil 3D, FormIt, ALIAS, Advance Steel, and as a standalone version (Dynamo Sandbox).
In traditional BIM design, users are limited to the tools provided by software developers. For example, in Autodesk Revit, if you need to renumber 500 doors according to a specific algorithm, you would have to do it manually in standard Revit. Dynamo allows you to create your own tool for this task by connecting several functional blocks, commonly referred to as nodes.
Visual Programming Theory
Visual programming is a method of creating logic by manipulating graphical elements rather than writing text. Instead of lines of code, you use nodes and connections (wires) between them.
Algorithmic thinking is the key to mastering Dynamo. Any task in Dynamo is typically broken down into three stages:
- Input (Data Collection): Selecting elements in the Revit model (e.g., all walls on the 2nd floor).
- Process (Processing): Performing operations (filtering, calculating area, changing parameters).
- Output (Result): Writing data back to the model or creating new geometry.
Dataflow
Unlike classical programming, where the computer executes instructions strictly in order:
- Step 1
- Step 2
- Step 3
In visual programming, the program is a directed graph.
As soon as data enters a node's input port, the node "wakes up," performs its designated function, and instantly passes the result further down the chain. If you change a value at the very beginning of the graph, the entire chain recalculates automatically.
Main Pros and Cons of Visual Programming
Pros
- Low Entry Barrier (Accessibility): An engineer doesn't need to memorize language syntax. The main focus is on the logic of the process, not the rules of writing code. Generally, you don't need to be a professional programmer to handle it.
- Instant Visual Feedback: In Dynamo, geometry is created in parallel with the script assembly. You can immediately see in 3D how changing one slider alters the shape of an entire facade or the position of hundreds of elements.
- Logic Transparency: A well-structured script looks like a flowchart. It is easier for a colleague who didn't participate in the development to "read" it than 500 lines of C# text.
- Modularity: You can easily replace parts of the algorithm by simply reconnecting "wires," which facilitates rapid prototyping and experimentation.
- Huge Community: You can always find a ready-made package or an answer on the forum (Dynamo BIM Forum).
Cons
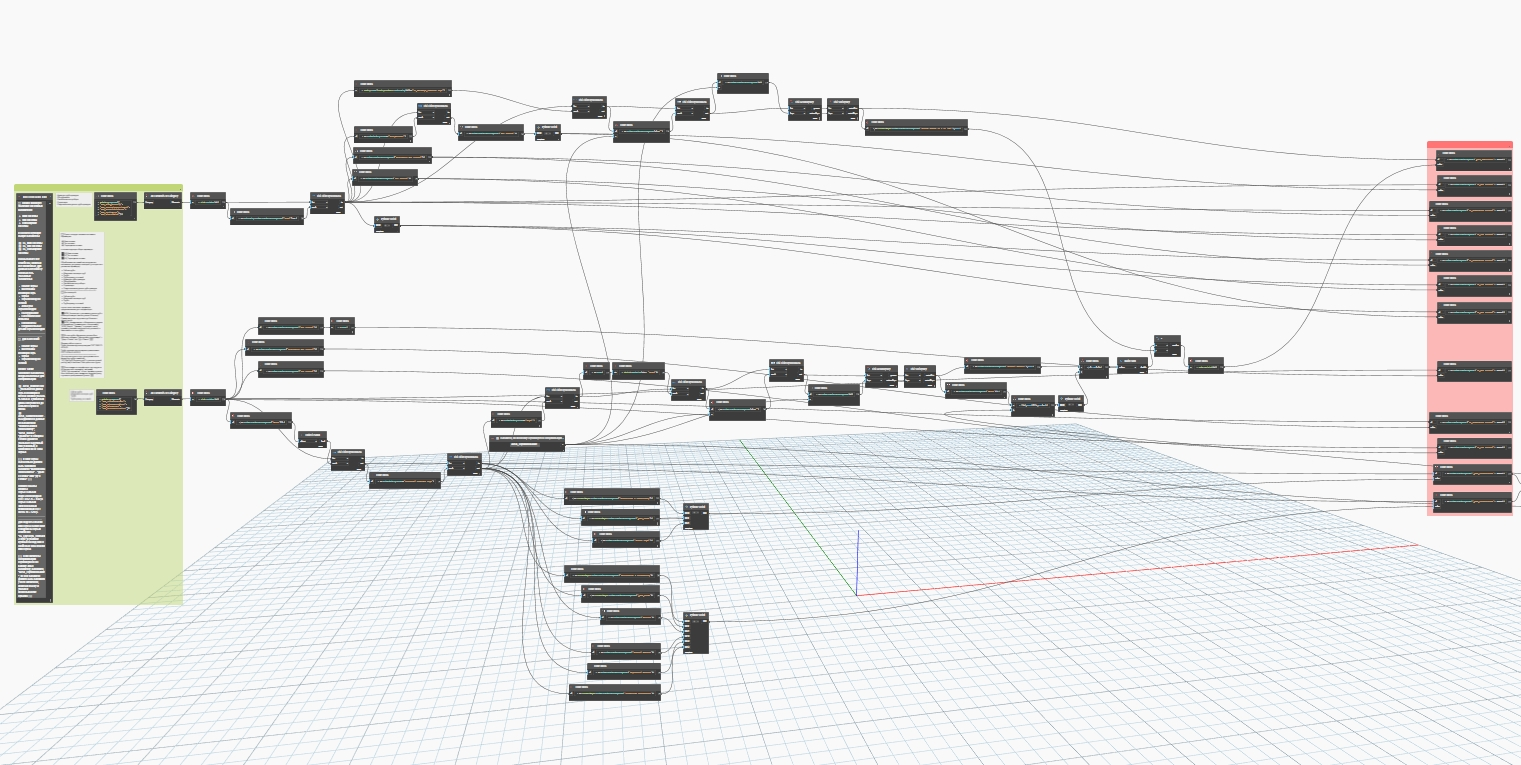
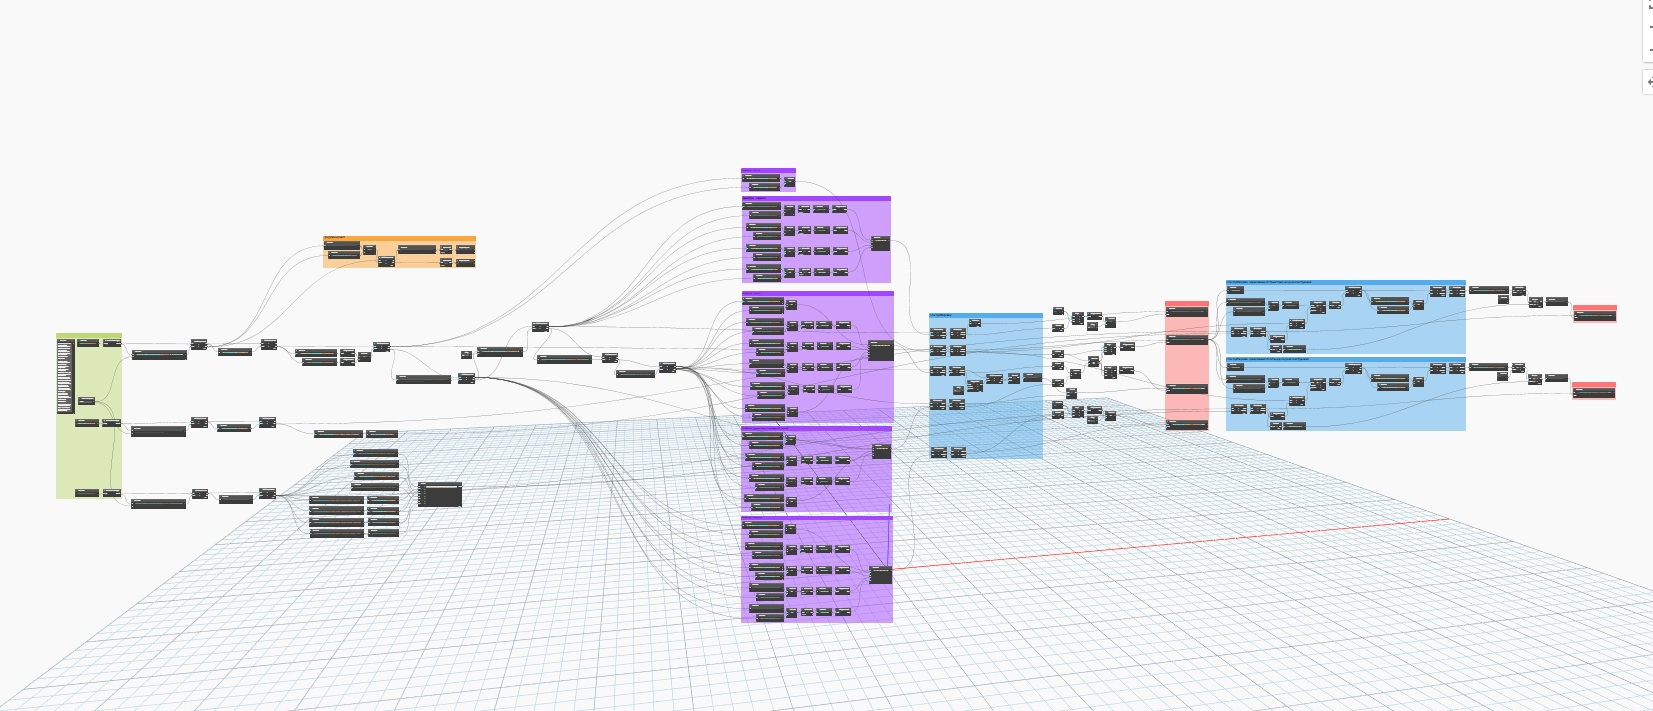
- Scalability Issues ("Spaghetti Code"): When an algorithm becomes truly complex (hundreds of nodes), the visual map turns into a tangled mess of connections. Maintaining and debugging such scripts becomes physically difficult.
- Limited Toolkit: You are limited to the set of nodes available in the library. If a specific function is missing, you still have to drop down a level to textual programming (PythonScript).
- Performance: The visual interface consumes resources. Rendering each node and its state in real-time makes Dynamo slower than compiled C# code, especially on massive datasets (tens of thousands of elements).
- Debugging Difficulty: In textual code, you can step through every line. In a visual graph, it’s harder to track exactly at which stage and why a specific element within a large list failed.
- Version Issues: A script written in Dynamo 2.0 might not open correctly in version 3.0.
- Package Dependency: If you use a node from someone else's package, the script won't run for another user without that package installed.
This theoretical background helps explain why Dynamo is so popular among architects - it speaks the language of diagrams and images while remaining a powerful computational tool.
Core Concepts and the Dynamo Interface
The Dynamo interface is intuitive yet hides powerful tools within.
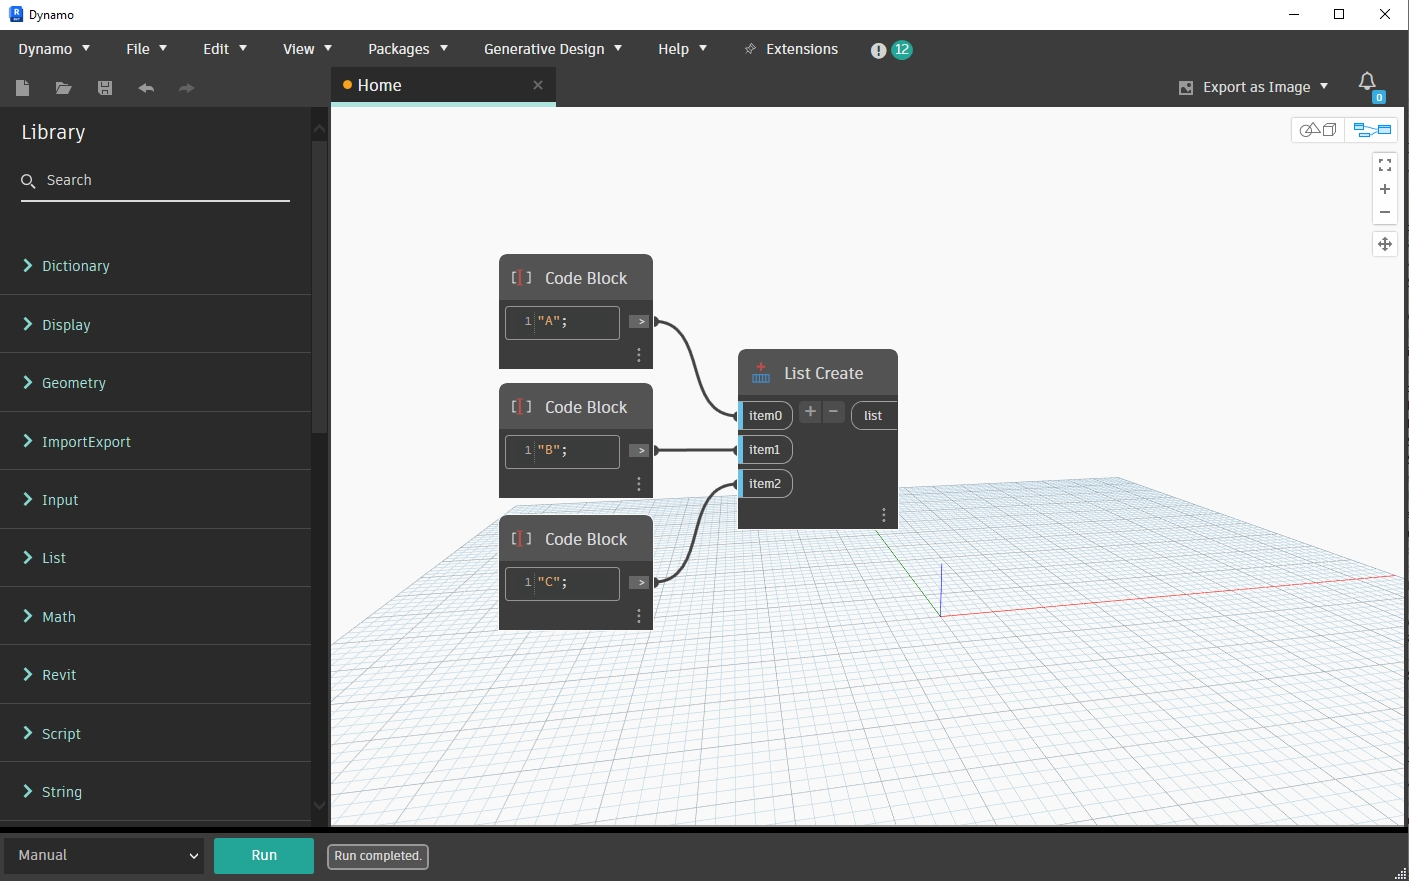
The workspace is divided into four key zones:
- Library: Located on the left. This contains all nodes, categorized into: Dictionary, Display, Geometry, ImportExport, Input, List, Math, Script, String. A separate section is dedicated to Revit, containing nodes for working with model elements.
- Canvas: The main field where you place nodes and connect them with "wires."
- Execution Bar: In the bottom-left corner. This is where you choose the run mode: Automatic (the script triggers on any change) or Manual (the "Run" button).
- 3D Navigation: Dynamo allows you to switch between node editing mode and geometry view mode (Ctrl+B). You can rotate created points and lines directly "behind" your algorithms.
Nodes
A node is a "box" that performs a specific function. It has input ports (left) and output ports (right). Almost all nodes can be divided into three main categories:
- Create: Creates geometry or data (
Point.ByCoordinates). - Action: Performs an action (
Element.SetParameterByName). - Query: Requests information (
Element.GetParameterValueByName).
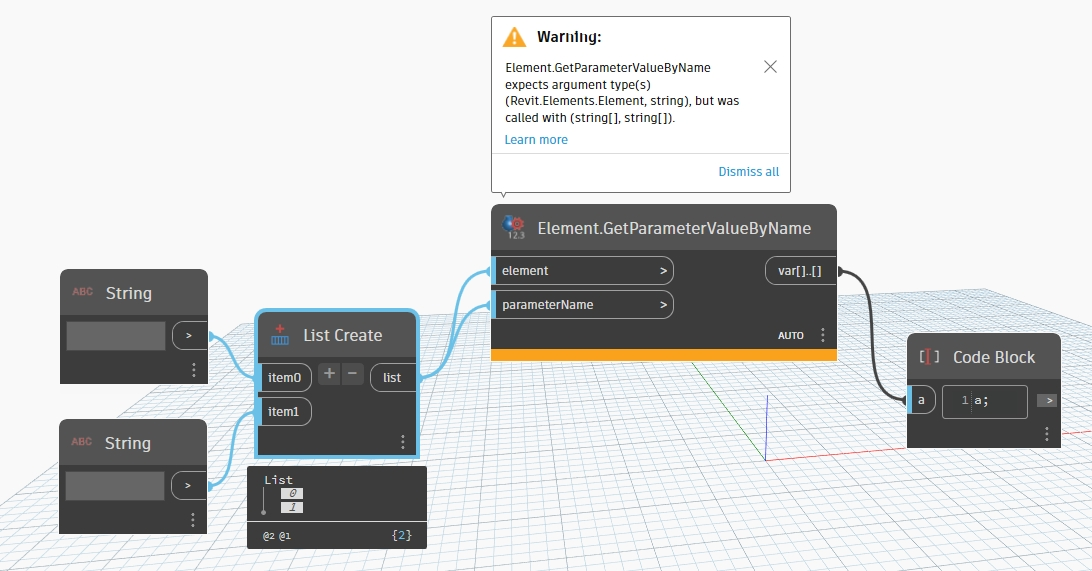
The color and indication of nodes indicate their current state:
- Grey: The node is working normally.
- Dark Grey: The node is selected (active).
- Yellow (Warning): There is a logic error in the node (e.g., trying to add a number and text). It will continue to work, but the result may be incorrect.
- Red (Error): A critical error; script execution has stopped.
- Freeze: You can "freeze" a node via the right-click menu. Everything following it in the chain will stop executing. This is useful for debugging heavy scripts.
Library
On the left is a tree-like list of all available nodes. This is also where custom Packages are located - sets of nodes created by the community (e.g., the legendary LunchBox, Clockwork, or Springs).
Canvas
This is an infinite canvas where you place your nodes. It is important to maintain "script hygiene": group nodes, label them, and avoid crossing wires so your algorithm doesn't turn into "spaghetti code."
Dynamo Player: An Interface for the Whole Team
If Dynamo itself is the "assembly shop," then Dynamo Player is the user-friendly control panel. It was created so that everyday designers could enjoy the benefits of automation without opening the canvas of "spaghetti code" and risking accidental changes.

Why use the Player?
Most engineers feel stressed seeing hundreds of nodes and wires. Dynamo Player solves three problems:
- Safety: The script runs in a "protected" mode, preventing accidental node deletion.
- Simplicity: The user only sees the parameters the script author has allowed them to change.
- Speed: You don't need to wait for the heavy Dynamo interface to load to run an automation.
Modern Interface (2024–2026)
Starting with Revit 2023, the Player received a global update. It is now a full-scale tool catalog rather than just a list of files.
- Script Cards: Each script can now have its own icon (preview) and short description. This allows you to visually distinguish between a "Door Numberer" and a "Window Numberer."
- Author Info and Links: You can embed the developer's name and a link to instructions in the card.
- Execution Status: The Player clearly shows the result: a green checkmark (success), a yellow sign (completed with warnings), or red (error).
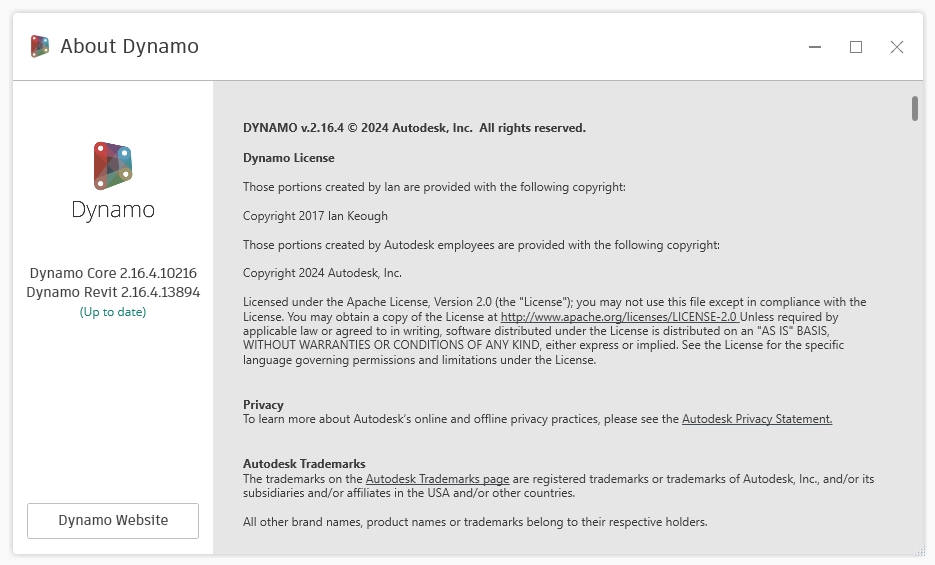
Dynamo Versions and Workflow Features
The development of Dynamo has not been linear, and transitioning between versions often caused headaches for users.
The Python Problem: IronPython 2.7 vs. CPython 3
For a long time, Dynamo used the IronPython 2.7 engine, which allowed for easy access to .NET libraries but became significantly outdated. Starting with version 2.7, Dynamo introduced support for CPython3.
- Issue: Scripts written in Python 2 often don't work in Python 3 due to syntax differences (e.g.,
print "hello"vs.print("hello")) and library calls. - Solution: Newer versions of Dynamo have a built-in "Migration Assistant" that highlights problematic areas in Python code.
- Alternative: Install the IronPython 2.7 emulation package and continue writing code in that version.

Dynamo Sandbox vs. Integrated Versions
- Dynamo for Revit: A "plugin" that has access to Revit API libraries. It is useless without Revit running.
- Dynamo Sandbox: A standalone version. It cannot see Revit, walls, or windows. It is used for pure math, working with geometry, or developing logic to be moved later into Revit, Civil 3D, or other software.
Revit Version Compatibility
Since 2020, Dynamo has come built into Revit. You can no longer install any version of Dynamo on any version of Revit.
- Revit 2022 uses Dynamo 2.10–2.12.
- Revit 2024 runs on Dynamo 2.17+.
- Revit 2025 moved to Dynamo 3.0+. This means if you use the latest features (e.g., Node AutoComplete), your script might not open for a colleague working in an older version of Revit.
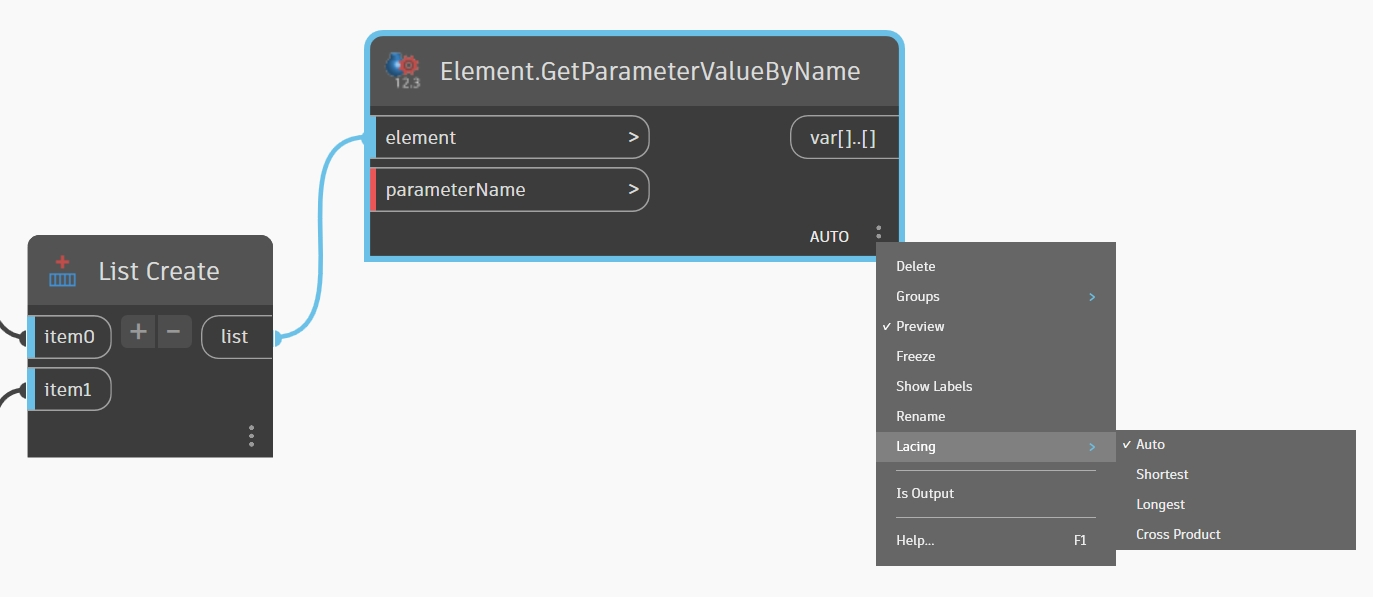
Working with Data: Lists and Lacing
This is the most difficult topic for beginners. Dynamo works with lists of data. If you input a list of 5 points and a list of 5 radii to create circles, it’s straightforward. But what if there are 5 points and only one radius? Or 10?
List Levels
These allow you to work with nested structures (a list within a list). For example, a list of floors, each containing a list of rooms. Levels @L1, @L2, @L3 help specify exactly which level of the structure the node should operate on.
Lacing
Determines how elements from different lists are matched:
- Shortest: Works until the shortest list is exhausted.
- Longest: The last element of the shorter list is repeated until the longer list ends.
- Cross Product: Every element of the first list interacts with every element of the second. This creates data matrices.
Python in Dynamo: Unlocking the Revit API
If standard nodes and third-party packages aren't enough, you open the Python Script node. This is where the real magic begins.
Why use Python?
- Direct Access to Revit API: Many Revit functions are not exposed as standard nodes. Through Python (IronPython or CPython3), you can access the API directly.
- Complex Loops and Conditions: Writing
if-elsebranches orforloops in text is much more convenient than building labyrinths of nodes. - Performance: Processing large arrays of data in Python is often faster.
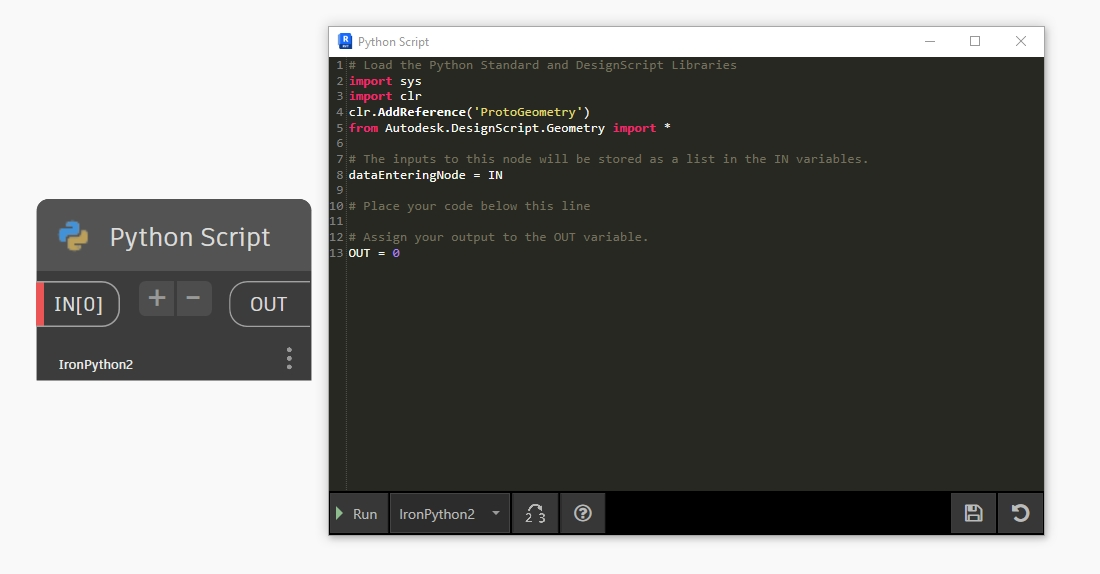
Typical Structure of a Python Script in Dynamo:
import clr
clr.AddReference('RevitAPI')
from Autodesk.Revit.DB import *

clr.AddReference('RevitNodes')
import Revit
clr.ImportExtensions(Revit.Elements)

# Input
items = IN[0]
output = []

# Logic
for item in items:
    # API
    output.append(item)

# Output
OUT = output
Dynamo vs. C# Programming
Many wonder: "Should I keep working in Dynamo or is it time to switch to C# and write full-scale plugins?"
| Criteria | Dynamo BIM | C# (Revit API / Add-ins) |
|---|---|---|
| Entry Barrier | Low. Intuitive for visual thinkers and designers | High. Requires understanding of OOP and VS environment |
| Development Speed | Very high for simple tasks | Average. Requires compilation and debugging |
| Performance | Average. Spends resources on graphics rendering | Maximum. Works directly with memory |
| Interface (UI) | Limited to Dynamo Player | Full freedom (WPF, forms, Revit ribbon) |
| Code Protection | Almost none; script is easily opened | High (code is compiled into a .dll library) |
| Updating | Easy to edit "on the fly" in open Revit | Requires Revit restart or special tools |
Dynamo is ideal for operational tasks, "here and now" automation, and generative design. C# is necessary for creating corporate standards, complex tools with unique interfaces, and processing colossal amounts of data.
Practical Implementation Examples
Example 1: Automatic Room Numbering Along a Line
Imagine a winding corridor. You draw a Revit Model Line passing through all the rooms.
- Logic: The script selects the line, finds all rooms it intersects, sorts them along the line's vector, and assigns them numbers (101, 102, etc.).
- Result: Saves several hours of manual labor and eliminates numbering errors.
Example 2: Transferring Data from Excel to Revit Parameters
A client sends a spreadsheet with equipment article numbers.
- Logic: Dynamo reads Excel, matches the element IDs in the table with the IDs in the model, and writes the article number into the correct parameter.
- Result: Instant update of parameters in schedules.
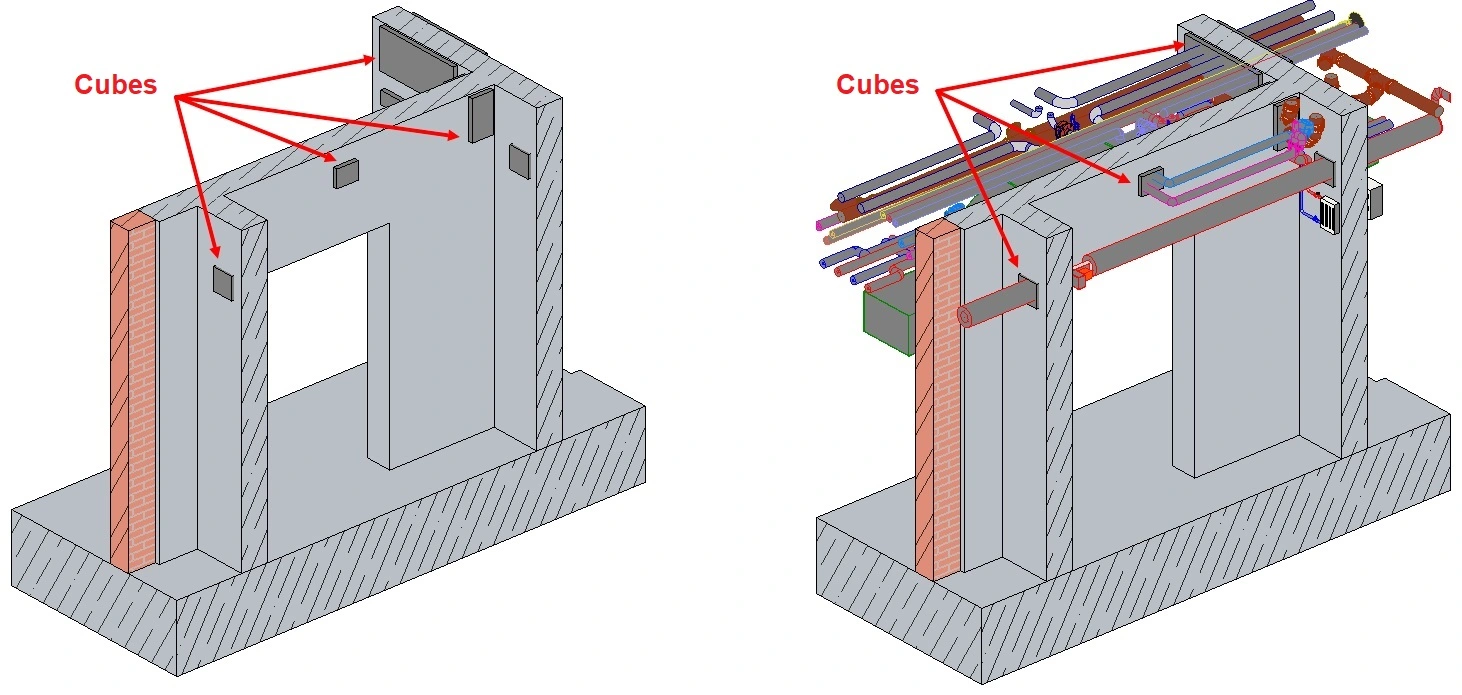
Example 3: Creating Openings at Pipe-Wall Intersections
One of the most popular scripts.
- Logic: Find intersections (Clash Detection) between the "Pipes" and "Walls" categories. At the intersection point, insert a placeholder "Opening" family with dimensions based on the pipe diameter.
- Result: Full automation of opening task assignments in structures, elimination of tons of overlooked errors, and massive time savings.
Conclusion
Dynamo is a powerful tool that allows you to transition from manual work in Revit to automation and algorithmic thinking. It is excellent for solving repetitive tasks, working with data, and quickly creating scripts without diving deep into programming.
However, its capabilities are limited when dealing with complex logic, massive projects, and high performance requirements - in such cases, C# development takes center stage.
The optimal development path is to use Dynamo for automation and prototyping, gradually master Python, and, if necessary, move to full-scale development via the Revit API.
The best way to start your Dynamo journey is with simple tasks - exporting schedules or mass-renaming elements. By gradually incorporating Python Scripts, you will eventually create complex algorithms that make you a "Pro" version of yourself in the modern BIM design market.